By Eli – Maryland-licensed HVAC contractor, EPA 608-certified, Updated August 2026
A professional mini split installation takes one day for a single-zone system – about 4 to 6 hours – and 1 to 2 days for a multi-zone home. The process: the installer mounts the indoor unit on an exterior-facing wall, drills a 3-inch hole for the line set, sets the outdoor condenser on a pad or brackets, connects the refrigerant lines and electrical, pulls a vacuum on the lines, and test-runs the system in cooling and heating. In Maryland, the refrigerant work must be done by a licensed HVACR contractor with EPA 608 certification, and most counties require a permit – a licensed installer pulls it for you. DIY quick-connect kits exist, but they void most manufacturer warranties and skip the vacuum test that protects the compressor. The guide below walks through each step so you know what to expect before installation day.
This mini split installation guide covers each step of the process, tools required, permit considerations, and what to expect when working with a licensed HVAC technician. For professional mini split installation in Baltimore, our certified team handles everything from permits to system startup.
How Long Does Mini Split Installation Take?
A single-zone mini split installation takes about 4 to 6 hours – nearly every single-zone install we do is finished in one day, including the system test and cleanup. A multi-zone system takes 1 to 2 days, depending on how many indoor heads are going in and how far the line sets have to run between floors. The parts of the job that stretch the timeline are long line-set runs, electrical panel work, and wall construction – plaster-on-brick walls common in older Baltimore homes drill slower than drywall. What does not change the timeline: you do not need to be home the whole time, and there is no ductwork demolition, which is why a ductless install is measured in hours while a central air retrofit is measured in days.
Can I install a mini split myself?
While a DIY
mini split installation is possible with a “quick-connect” kit, most systems require specialized tools like a vacuum pump and manifold gauges. For safety and to maintain your manufacturer’s warranty, hiring a professional for the electrical and refrigerant lines is highly recommended. Improper installation can lead to system failure or voided warranties.
Do you need a license to install a mini split?
In Maryland, yes – mini split installation is HVACR work that must be performed by a state-licensed HVACR contractor, and anyone handling the refrigerant lines needs EPA Section 608 certification under federal law. A homeowner can legally mount brackets or run a condensate line on their own property, but the refrigerant and electrical connections are where the license requirements apply – and where DIY installs fail.
Do you need a permit to install a mini split?
In most Maryland counties, yes – a mini split installation involves electrical work and a new mechanical system, both of which require permits in Baltimore City, Baltimore County, and the surrounding counties. As licensed contractors, we pull the permit as part of the job, so for our customers the honest answer is: yes, and you never have to think about it.
Can an electrician install a mini split?
An electrician can – and often should – handle the dedicated circuit and disconnect box, but a licensed electrician without EPA 608 certification cannot legally connect the refrigerant lines. A complete mini split installation is two trades in one: refrigerant work and electrical work. That is why it is typically done by an HVACR contractor who is certified for the refrigerant side and either licensed for, or partnered on, the electrical side.
Step 1: Choosing Your Right System
The first step for mini split AC installation is selecting the right ductless system for your needs. Consider factors like the size of the space you want to condition, the number of rooms or zones, and the desired level of energy efficiency. Our team can help you assess your needs and recommend a system that fits your home or business. Whether you’re installing a single-zone unit for a small room or a multi-zone system for a large home, there’s a ductless mini split solution that’s right for you. Not sure what capacity you need? Our mini split sizing guide breaks down the right BTU by room size.
Skip The DIY Stress: Why Professional Installation Is Worth It
Ductless mini split installation requires precision. Our licensed team handles the electrical and refrigerant lines for a perfect, worry-free setup.
Step 2: Professional Mini Split Installation
While ductless mini splits are easier to install than traditional systems, professional installation is still recommended. A trained technician will ensure that the system is correctly sized, the refrigerant lines are properly installed, and the unit is operating at optimal efficiency. They will also ensure that the outdoor unit is placed in the best location for maximum airflow and performance.
Step 3: Mounting the Indoor Unit
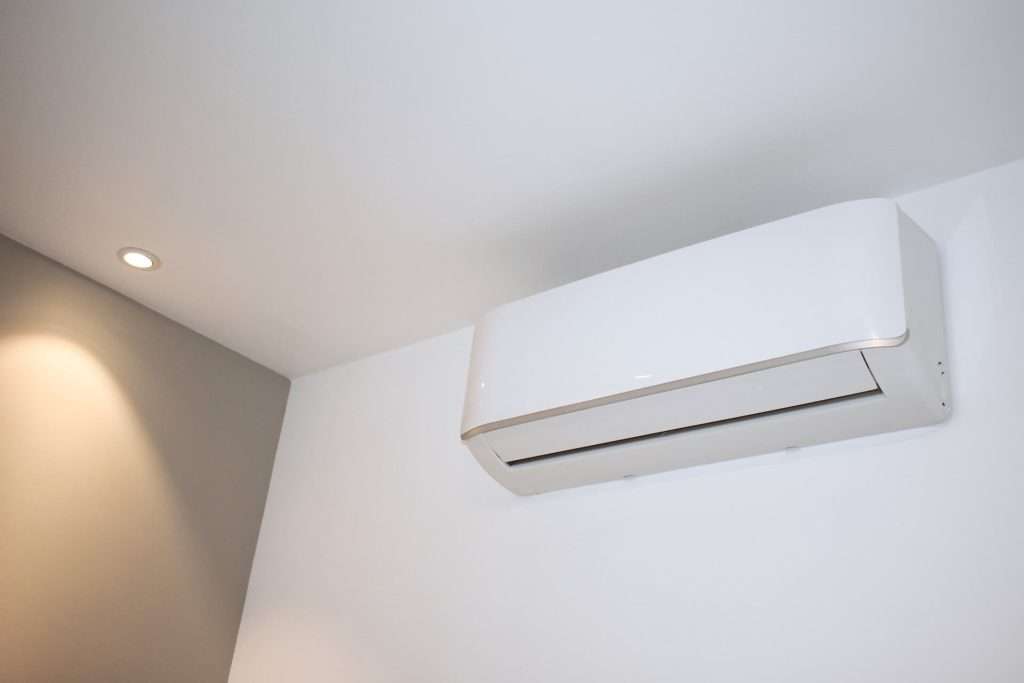
The indoor unit of a ductless mini split is typically mounted on a wall, near the ceiling, to provide optimal airflow throughout the room. Our installation experts will assess the space to find the most suitable location for the unit, ensuring it’s positioned in a way that maximizes efficiency and comfort.
Step 4: Installing the Outdoor Unit
The outdoor unit is typically placed outside the home or business in a location that allows for proper ventilation and efficient operation. This unit is connected to the indoor unit via refrigerant lines and electrical wiring. It’s important that the outdoor unit is placed in a location that minimizes exposure to the elements and avoids any obstructions that could restrict airflow. Our crews handle mini split installation in Towson and throughout the Baltimore area every week, so every step below reflects how a real install day actually runs.
Step 5: System Testing and Calibration
Once the system is installed, the technician will conduct thorough testing to ensure everything is working as it should. This includes checking the refrigerant levels, inspecting the electrical connections, and ensuring the system is cooling or heating the space effectively. After testing, the system will be calibrated to your desired temperature settings, providing you with immediate comfort.
Step 6: Ongoing Maintenance
To keep your ductless mini split running efficiently, regular maintenance is key. This includes cleaning or replacing filters, checking refrigerant levels, and ensuring the system’s components are working correctly. With proper maintenance, your system will provide reliable performance for years to come.
Ductless mini split installation can significantly improve your home or business’s comfort and efficiency. By following these steps and working with a professional installation team, you can enjoy the many benefits of ductless heating and cooling with minimal hassle.



One Response